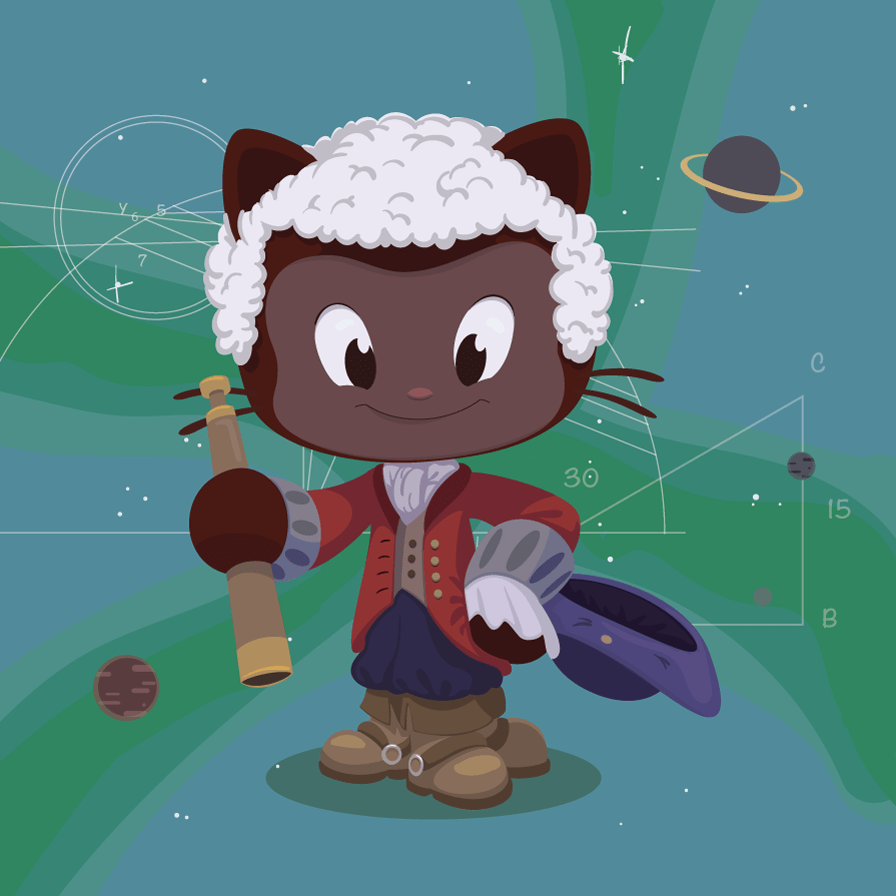
If you know how to create links in Markdown, you can create images, too. The syntax is nearly the same.
Images also have two styles, just like links, and both of them render the exact
same way. The difference between links and images is that images
are prefaced with an exclamation point ( ! ).
The first image style is called an inline image link. To create an inline
image link, enter an exclamation point ( ! ), wrap the alt text in brackets ( [ ] ), and then wrap the link
in parentheses ( ( ) ). (Alt text is a phrase or sentence that describes the
image for the visually impaired.)
For example, to create an inline image link to https://octodex.github.com/images/bannekat.png, with an alt text
that says, Benjamin Bannekat, you'd write this in Markdown: .
In the box below, turn the link to an image, and fill out the alt text brackets to say "A pretty tiger":
Wonderful!
Although you don't need to add alt text, it will make your content accessible to your audience, including people who are visually impaired, use screen readers, or do not have high speed internet connections.
For a reference image, you'll follow the same pattern as a reference link.
You'll precede the Markdown with an exclamation point, then provide two brackets
for the alt text, and then two more for the image tag, like this: ![The founding father][Father] At the bottom of your Markdown
page, you'll define an image for the tag, like this: [Father]: http://octodex.github.com/images/founding-father.jpg.
In the box below, we've started placing some reference images; you'll
need to complete them, just like the last lesson. Call the first reference tag "Black", and make
it link to https://upload.wikimedia.org/wikipedia/commons/a/a3/81_INF_DIV_SSI.jpg; make the
second image link out to http://icons.iconarchive.com/icons/google/noto-emoji-animals-nature/256/22221-cat-icon.png.